You spend good money on cabinet painting, and the last thing you want is to open your cabinets six months later and find paint peeling off the edges or chipping around the door pulls. Cabinet paint that peels and chips is a real concern in Colorado, and it happens more often than most homeowners expect. Understanding the most common cabinet painting problems before you hire anyone puts you in a stronger position when it comes to hiring a qualified painting contractor and protecting your investment.
Key Takeaways: Cabinet Painting Problems
- Poor surface prep is the leading cause of cabinet paint peeling and chipping
- Colorado’s dry climate creates unique wood movement that stresses paint finishes
- Using the wrong type of paint or primer leads to early adhesion failure
- Rushing the cure time is one of the most overlooked cabinet painting problems
- A contractor who communicates the full process upfront is far less likely to cut corners
Why Cabinet Painting Is Different From Painting Walls
Most people assume cabinet painting is just like painting any other surface in the house. It is not. Cabinet surfaces are smooth and non-porous, exposed to grease, moisture, and constant handling, and subject to expansion and contraction from temperature changes.
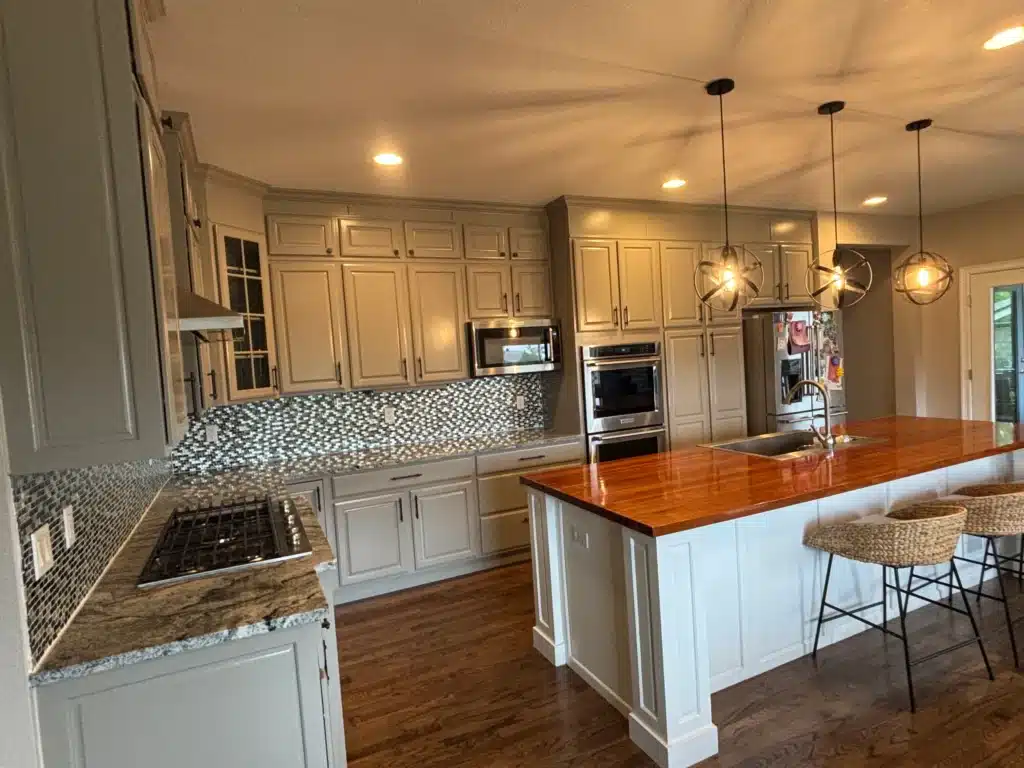
That means the prep work, the products, and the application method all need to match the demands of a high-traffic, frequently touched surface. When any of those pieces are off, cabinet painting problems show up quickly and visibly.
Problem 1: Skipping or Rushing Surface Preparation
The most common cause of painted cabinets peeling is improper prep work before painting. If the surface was not cleaned, sanded, or primed correctly, the paint will not bond properly and will start peeling sooner than expected.
Cabinets collect years of cooking grease, fingerprint oils, and grime. That film is nearly invisible, but it acts as a barrier between the paint and the wood. If cabinets are not properly cleaned first, it shows up later as peeling and flaking.
Careful cleaning to remove dust, dirt, grease, and grime is critical for a long-lasting finish. Even the smallest particles left behind can compromise adhesion and leave the finish vulnerable to peeling.
Sanding matters too. A smooth factory finish needs deglossing and a bonding primer for paint to stick. A contractor who skips these steps to save time is setting you up for cabinet painting problems within a year or two.
Problem 2: The Wrong Paint or Primer for the Job
Not every can of paint belongs on a cabinet. Regular wall paint will not hold up to cabinet use. Cabinet-grade products, such as acrylic, oil-based, or specialized cabinet enamel formulas, are built for that level of wear.
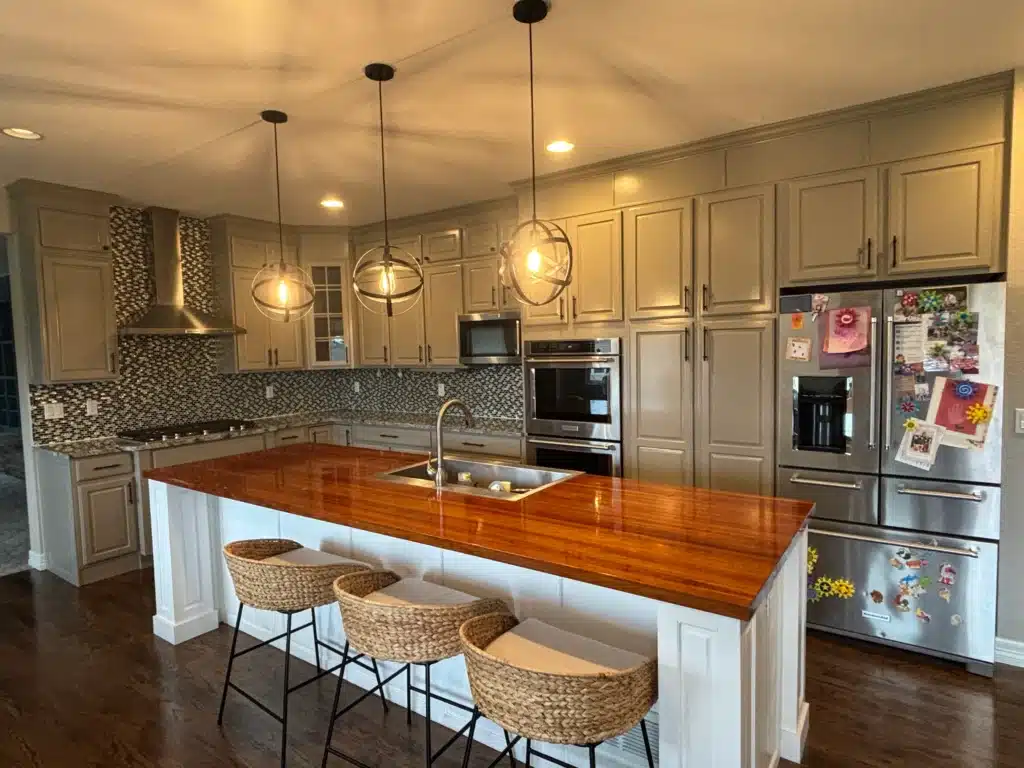
Low-cost paints and stains can seem like a way to save money, but they often lead to premature chipping and peeling. Higher-quality products cost more upfront and last far longer, which usually makes them cheaper over the life of the finish.
Skipping primer is another fast track to failure. Going straight to paint without a bonding primer often leads to peeling, especially in high-humidity spots like kitchens and bathrooms.
Skipping the protective topcoat is just as risky. A good sealer acts as a shield against daily wear, preventing early chipping and keeping cabinets looking fresh for years.
Problem 3: Colorado’s Climate Creates Unique Stress on Cabinet Paint
This is the cabinet painting problem that Northern Colorado homeowners often do not hear about until after something goes wrong.
Bone-dry winter air pulls moisture from wood, opening gaps in doors and cabinet panels. Large daily temperature swings drive constant expansion and contraction that can crack or cup finishes on wood that was not acclimated or given room to move.
On the Front Range, these swings cause cabinet joints to expand and contract throughout the year. The movement is usually invisible until the paint starts to crack or chip at the seams.
Homes in Erie, Broomfield, Lafayette, and Boulder all sit in this semi-arid zone where seasonal swings hit hard. The USDA Forest Products Laboratory notes that wood indoors dries to a low moisture content in northern winters, causing shrinkage and warp, and that protective coatings can slow this movement but cannot prevent it.
The fix is twofold. First, the paint system on your cabinets needs to be flexible enough to move with the wood. Second, it helps to keep a stable indoor climate, ideally 70 to 75 degrees Fahrenheit and humidity around 30% to 50%.
For more on protecting painted finishes over time, see our guide on maintaining your interior painted surfaces. A painter who knows Colorado conditions factors all of this into product selection and application. One who does not may hand you a beautiful finish on day one that is cracking at the seams by February.
Problem 4: Applying Paint Too Thickly
One of the most common mistakes in cabinet refinishing is applying paint or stain too thickly. Thick coats dry unevenly and lead to cracking, peeling, or chipping.
This happens most often with inexperienced painters or rushed DIY projects. The surface can look smooth right after painting, but as a thick coat cures it dries from the outside in. The outer layer skins over while the material underneath is still wet, creating tension that eventually cracks or peels.
Thin, even layers are the fix. A professional applies multiple thin coats and lets each one dry fully before the next goes on.
Problem 5: Not Allowing Enough Cure Time
There is a big difference between paint that is dry to the touch and paint that is fully cured. This is one of the most misunderstood cabinet painting problems, and homeowners often pay for it by loading cabinets back up too soon.
Paint can feel dry within one to two weeks, but full curing takes roughly 30 days to reach maximum hardness and durability. During that window the finish is still fragile. Slamming doors, scrubbing surfaces, or stacking heavy items inside can damage a finish that looks perfectly fine.
A good rule is to wait at least 7 days for light use and ideally 21 to 30 days before heavy use or regular cleaning.
A good contractor walks you through what to expect after the job, including how to care for cabinets during the cure period. That transparency separates a professional who stands behind the work from one who disappears after the final coat.
Problem 6: Loose Hardware and High-Impact Areas
Even a well-painted cabinet can develop paint that peels or chips over time if certain physical factors are not addressed. Friction from loose hardware can tear, chip, and peel paint, even when the best cabinet products were used.
Direct sunlight causes fading, cracking, and peeling. Heat from stovetops and ovens can dry paint too fast and make it brittle. Cabinets near the range, dishwasher, and sink are the highest-risk spots in any kitchen, and a thorough painter pays extra attention to sealing and priming those areas.
What Good Cabinet Painting Actually Looks Like
Professionally painted cabinets, with proper preparation, quality products, and correct application, should last 7 to 10 years or more before needing a repaint. That is the standard a homeowner should measure against.
To understand how product and prep choices connect directly to price, review what affects cabinet painting cost. The right contractor gives you a clear scope, product specifications, a timeline, and a warranty before anyone picks up a brush. They stick to the plan, communicate through the process, and do not leave you guessing.
At A New View Painting, Jonathan and the team have done exactly that for over 30 years across Erie, Broomfield, Lafayette, Louisville, Boulder, and surrounding Northern Colorado communities. Every cabinet project includes detailed upfront communication covering scope, cost, schedule, and the specific products used, so you know exactly what to expect.
The finish is backed by a 3-year interior warranty, and you can review our interior painting best practices to see the standards behind it. If you want a result that holds up in Colorado’s climate, that peace of mind starts with a conversation. Schedule your free consultation and let us walk through the project with you before a single door comes off its hinge.
Call us now at 970-660-3993. Getting the details right from the start is what saves you time and money.