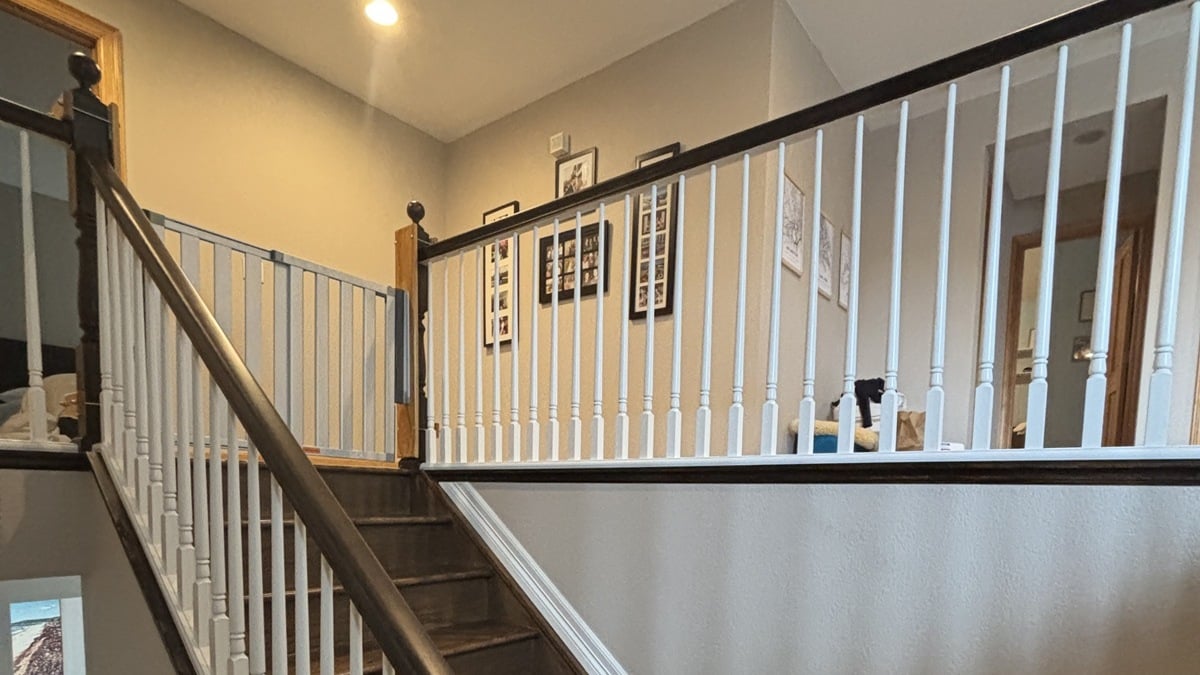
The painted walls that looked perfect when they were first finished now show the early signs of daily life. Light fingerprints sit around the light switches, a few scuffs mark the spots where chairs bumped against the baseboards, and dust settles into the corners.
Here is what most homeowners do not realize. In a bathroom, those early signs can mean the paint has only 3 to 4 years left before it needs to be redone. In a kitchen or busy hallway, 3 to 5. In a quiet bedroom, 7 to 10. The biggest variable is not the paint itself. It is how the walls are maintained between coats.
This guide covers how often to clean each room, what to use and what to avoid, how Colorado’s dry climate affects your paint, and when small problems are telling you it is time to call a professional. Each section is built around one idea. Small, consistent care is what separates walls that need repainting in 4 years from walls that still look right at 8.
Key Takeaways
- Living rooms and bedrooms should be wiped down every 3 to 6 months, while kitchens and bathrooms need monthly attention.
- Wait at least two weeks for newly painted walls to cure before dusting or cleaning them.
- Gentle cleaning with water first, then mild soap, prevents damage to different paint finishes.
- Address stains, scuffs, and small damage immediately before they become bigger problems.
- Environmental factors like humidity and sunlight accelerate paint deterioration.
Why Wall Maintenance Matters More Than You Think
Most people think of painted walls as a one-and-done investment, but the reality is different. Industry data puts typical interior paint lifespan at 5 to 10 years, and the spread inside that range is driven almost entirely by environment and care. Bathrooms typically need repainting every 3 to 4 years. Kitchens, every 3 to 5. Trim, doors, and cabinets, every 3 to 5 years in busy households. Living rooms and bedrooms can stretch to 7 to 10 years when they are dusted and spot cleaned regularly.
When you use latex paint, which is the most common type of interior paint, wall cleaning is straightforward. Learning how to clean painted walls properly can help maintain your home’s appearance and add years to the life of your paint.
The problem is not always obvious. Small imperfections such as chips, scuffs, or worn spots are normal over time, but leaving them unaddressed can lead to larger problems. Minor damage often spreads when exposed to continued use, moisture, or environmental stress. What feels like a minor cosmetic issue today can expose the underlying drywall to moisture damage tomorrow, or force you into matching the existing wall paint color across the entire room.
In Colorado’s dry climate, walls also face unique challenges. The low humidity can cause paint to become more brittle, while rapid temperature changes between seasons create expansion and contraction that stress painted surfaces.
Understanding Your Paint Finish Before You Clean
Not all painted walls are created equal. The finish on your walls determines how you should clean them and how much scrubbing they can handle.
Generally speaking, the higher the gloss or sheen, the easier it is to clean. That includes satin, pearl, semi-gloss, and high gloss. Lower sheens like flat, matte, and eggshell require a gentler touch. For a deeper breakdown, see our comparison of satin vs matte paint finishes. Here is what this means for your specific walls:
- Flat and matte finishes. These look beautiful, but are the most delicate. They have a soft, velvety look and tend to absorb stains. They also do not hold up well to scrubbing. Think of them as requiring the same care you would give a fine fabric.
- Eggshell and satin finishes. Slightly more durable, these finishes are commonly used in living rooms and hallways. They can handle gentle cleaning without losing their sheen. These are the workhorses of interior paint finishes.
- Semi-gloss and gloss finishes. These are typically the easiest to clean and can handle more vigorous scrubbing and stronger cleaning solutions. You will often find these in kitchens, bathrooms, and on trim work.
If you are unsure what finish you have, check our guide to interior paint colors for Colorado homes to see what is commonly used in different rooms, or look for any leftover paint cans that might indicate the finish type.
The Right Way to Clean Painted Walls
The key to successful wall maintenance starts with the right approach. One of the best cleaning agents is plain water, so let us start there. Before washing a wall, be sure to dust it first.
Step 1: Dust First
Start by removing loose dirt and dust. Use a microfiber cloth, soft duster, or a vacuum cleaner with a brush attachment. This prevents grime from smearing during the cleaning process. Work from top to bottom so gravity helps instead of working against you.
Step 2: Test Your Approach
As you would with a piece of clothing, test your cleaning solution on a hidden area, like behind furniture, to ensure it will not harm the paint or finish. This small step can save you from damaging an entire wall.
Step 3: Start With Water
Gently rub lighter stains and scuffs with a large, non-abrasive sponge dampened with warm water. Many marks will come off with nothing more than water and gentle pressure.
Step 4: Add Mild Soap if Needed
If warm water is not effective on marks, scuffs, and stains, advance to a mixture of warm water and mild dish detergent. Mix warm water with a few drops of mild dish soap or an all-purpose cleaner designed for painted surfaces. Avoid harsh chemicals like bleach or ammonia, as these can damage the paint.
Step 5: Clean Properly
Begin washing at the bottom of the wall and work your way up so the cleaning solution does not run down the wall and cause streaks that may be difficult to remove. Work in small, manageable sections, rubbing gently in a circular motion to avoid damaging the paint. Rinse the cleaning solution as you go.
Room by Room Maintenance Schedules
Different rooms in your home face different challenges, which means they need different levels of attention. Cleaning frequency is the lever that decides whether your paint hits the low end of its lifespan or the high end.
Living Areas and Bedrooms (Paint Life: 7 to 10 Years)
A good rule of thumb is to wipe down your living room and bedroom walls every 3 to 6 months. These areas typically see less direct contact but still accumulate dust and occasional fingerprints around switches and door frames. Because exposure is low, paint here can last 7 to 10 years with consistent care.
Kitchens (Paint Life: 3 to 5 Years)
With splatters from cooking and potential grease buildup, kitchen walls may need cleaning every month or two. Pay special attention to areas around your stove and sink. The area behind and around the stove gets the most abuse from cooking vapors and splatters, and it is also the area most likely to fail first.
Bathrooms (Paint Life: 3 to 4 Years)
Due to high humidity and potential mold and mildew growth, bathroom walls benefit from more frequent cleaning, possibly once a month. The combination of moisture and soap residue creates the perfect environment for grime buildup. Bathrooms have the shortest paint lifespan in most homes, and ventilation matters as much as cleaning.
For bathroom-specific paint concerns, our guide on the best paint for bathroom walls and ceilings covers how different paint types handle moisture.
High Traffic Areas (Paint Life: 3 to 5 Years)
Hallways and children’s rooms often have more marks and fingerprints and may need attention every month or two. The areas around switches and thermostats may need an occasional washing. So does that area behind the sofa where somebody’s hair leaves a greasy spot. Dust and dirt also tend to accumulate on walls behind TVs or other electronics, and above radiators or heating grates. In busy households with kids and pets, these zones can need touch-ups every 2 to 3 years.
Dealing with Common Stains and Marks
Life happens, and walls show it. Here is how to handle the most common issues without damaging your paint.
Fingerprints and Smudges
For fingerprints and everyday grime, use water first, then mild soap. Most fingerprints come off easily with just a damp microfiber cloth.
Scuff Marks
For pencil marks or scuffs, use a soft eraser or a damp cloth with a tiny bit of soap. Magic eraser-type pads can dull flat or eggshell finishes, so test first. The keyword here is “test.” What works on one finish might damage another.
Kitchen Grease
For grease in kitchens, mix warm water with a small squeeze of mild dish soap. Rinse well and dry. Grease is oil-based, so it needs something that can cut through oil without being too harsh on the paint.
Crayon and Kids’ Art
If your little ones have decorated the walls, do not panic. Try a soft eraser first, then move to a damp cloth with mild soap. For stubborn marks, a small amount of baking soda paste can help, but always test in an inconspicuous area first.
When Small Problems Become Big Ones
The key to successful wall maintenance is catching problems early. Prompt touch-ups help maintain a uniform appearance and prevent moisture from penetrating underlying layers. Addressing issues early reduces the likelihood of more extensive repairs or full surface replacement later.
Signs to Watch For
Regular inspections make it easier to identify problem areas before they worsen. Paying attention to high-use areas ensures damage is caught early and corrected efficiently. Look for:
- Hairline cracks, especially around doors and windows.
- Areas where paint looks dull or chalky.
- Water stains or discoloration.
- Paint that is starting to chip or peel.
- Mold or mildew growth in humid areas.
If you notice significant cracking or peeling, it might indicate a deeper issue that needs professional attention. Our article on how to repair chipped interior paint can help you determine whether it is a DIY fix or time to call in the pros.
Environmental Factors That Affect Your Walls
Your home’s environment plays a huge role in how well your paint holds up over time. Environmental conditions have a significant impact on the longevity of painted walls. Prolonged exposure to sunlight can cause fading and discoloration, especially on darker paint colors. Humidity and moisture also play a critical role. Excess moisture can lead to peeling paint, while extremely dry conditions may cause cracking or separation.
Managing Humidity
The U.S. Environmental Protection Agency recommends keeping indoor relative humidity between 30 and 50 percent to prevent mold growth, protect interior finishes, and support indoor air quality. You can read the agency’s full guidance on EPA’s recommended indoor humidity levels for more detail. In Colorado’s dry climate, indoor humidity often falls below this range during winter, especially when furnaces are running. Running a humidifier helps protect your paint from becoming brittle and cracking.
Sunlight Protection
Direct sunlight can cause paint to fade or yellow over time, especially lighter shades. Sheer curtains or blinds help filter sunlight while keeping rooms bright. South facing rooms get the most sun exposure and may need more frequent touch ups.
Temperature Fluctuations
Temperature fluctuations further contribute to wear by causing materials to expand and contract. Managing indoor climate conditions helps reduce stress on painted surfaces and supports long term durability. Try to maintain consistent temperatures when possible.
Seasonal Wall Care
Different seasons bring different challenges for your painted walls.
Spring Maintenance
After a long winter, your walls might show signs of dryness, dust buildup, or minor cracking. Spring is the perfect time to give them a little rejuvenation. As your home adjusts to changing temperatures, walls can expand or contract slightly, leading to small cracks or peeling in the paint. Addressing these early prevents moisture from seeping in and keeps your paint finish smooth.
Summer Care
Summer’s heat and humidity create their own challenges. Bathrooms, kitchens, and basements are especially prone to moisture buildup. Use exhaust fans or a dehumidifier to prevent paint from bubbling, peeling, or growing mildew.
Fall Preparation
Fall is an ideal time to schedule repainting. Mild temperatures allow for smooth drying, and your home will look pristine for gatherings. It is also a good time for thorough cleaning and touch-ups before spending more time indoors during winter.
Winter Protection
Indoor heating can cause walls and the air around them to become extremely dry. Paint can become slightly more brittle in the cold months. When cleaning, use a soft cloth rather than scrubbing to avoid removing the finish.
What Not to Do When Cleaning Painted Walls
Some common cleaning approaches can actually damage your walls more than help them.
Avoid These Products
Never use glass cleaner or a heavy-duty household spray cleaner on a painted wall. They contain strong solvents that can damage the finish. Also avoid:
- Bleach or ammonia-based cleaners.
- Abrasive scrubbers or steel wool.
- Magic erasers on delicate finishes (without testing first).
- Power washers on interior walls.
Do Not Skip the Dust Step
Trying to clean dirty walls without dusting first just smears the dirt around. Always dust the walls before doing any wet cleaning. This will prevent you from turning dust into mud, which is much harder to clean.
Do Not Scrub Too Hard
Use a gentle touch on painted walls to avoid stripping the paint. A mild detergent diluted in water usually works well for painted surfaces. When in doubt, use less pressure rather than more.
When Professional Help Makes Sense
Even with proper care, painted walls benefit from periodic professional maintenance. Over time, protective coatings wear down, and surfaces lose their original finish, reducing both appearance and protection. Professional services such as repainting, recoating, or refinishing restore protective layers and enhance durability.
Consider calling professionals when you notice:
- Widespread fading or discoloration.
- Multiple areas of peeling or cracking.
- Stains that will not come out with gentle cleaning.
- Walls that look dull despite regular cleaning.
- Any signs of mold or mildew that will not respond to cleaning.
For complex issues like textured walls, check out our guide on how to paint textured walls properly for professional insights.
Making Wall Maintenance Part of Your Routine
The secret to long-lasting painted walls is not complicated. It is consistency. For general wall maintenance, a good dusting with a microfiber cloth or a duster every couple of weeks is enough to prevent dust accumulation. Building this into your regular cleaning routine means you will catch problems early and keep your walls looking fresh.
Set seasonal reminders to inspect your walls more closely, especially in high-use areas. Proper maintenance keeps your painted walls looking fresh and vibrant for years to come. By incorporating regular dusting, spot cleaning, and preventive measures, you can protect your investment and enhance the beauty of your home.
Remember, the goal is not perfection. It is preservation. Small, consistent efforts pay off with walls that look good longer and need less frequent repainting.
You have invested time, money, and care into your Erie home. Do not let small wall issues turn into a full repaint a year too early. Whether you need maintenance advice, a few touch-ups, or a fresh coat to start clean, A New View Painting is here to walk you through what your walls actually need (and what they do not). Call 970-660-3993 for a FREE estimate today.